How to setup servers, group and SSH credentials
How to setup servers, group and SSH credentials
SSH key generation
This article describes how to create a local user to log into RMON, a group for the user and the server, and how to add an SSH key to connect to a new server.
First, create a local user on the server where you are installing the agent, and select the authentication method for the user. You can either generate an SSH key or set the password, but using the key is more secure. For an SSH key, upload its public part to the server with the command ssh-copy-id -i ~/.ssh/mykey user@host.
Group creation
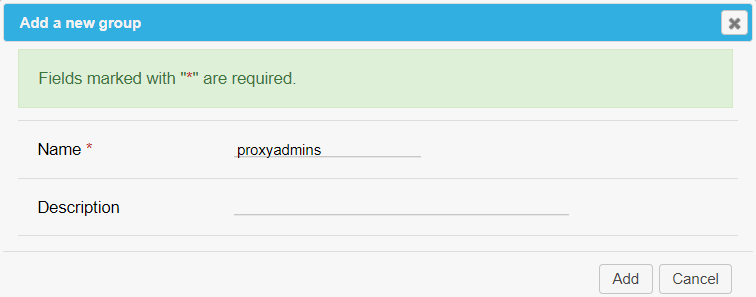
Then, create a new group for your user and server. To do this, go to the RMON Admin area => Groups section and click Add. In the pop-up window, enter the group name and group description, if necessary, and click Add.
User creation
Next, create a new RMON user for your local user. Go to the Admin area => Users section and click Add. Fill in the following form:
- Name — enter a user name;
- Password — create a password to access RMON;
- Active — check this box to make the user active immediately upon creation;
- Email — enter a user email;
- Role — assign a role to your user, which determines the user’s set of permissions. Read more about user roles here;
- Group — select the group you’ve created in the previous step.

SSH credentials creation
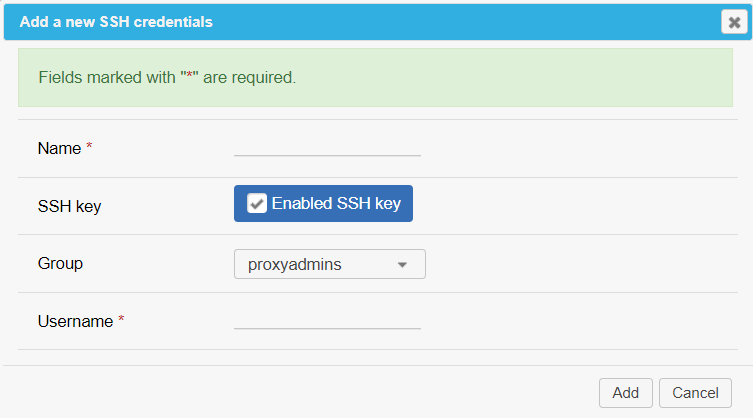
After that, create a remote user in RMON. Go to the Admin area => SSH credentials section and click Add. Fill in the form:
- Name — enter the alias name that will be displayed in the “Credentials” parameter of the Servers section;
- SSH key — check this box to enable key-based authentication. If unchecked, password authentication is used instead;
- Group — select the group you’ve created in step 2;
- Username — enter a user name for SSH access. Use the name from the previous step.
If you selected SSH authentication in step 1, upload the private part of the key to RMON. In the Admin area => SSH credentials section, select the alias name from the previous step, enter the private key in the “Key” field, and click Upload. If your SSH key is protected with a passphrase, enter it in the SSH key passphrase field as well.

RMON also encrypts both passwords and SSH passphrases. To ensure that no one but you can decrypt your passwords, generate your own salt.
Adding a server
Finally, add a new server. Go to the Admin area => Servers section and click Add. Fill in the form:
- Name — your server name, which is displayed on all RMON pages;
- IP — your server IP address;
- Port — the port used for SSH connections, port 22 is used by default;
- Enable — check this box to display your server on all RMON pages. If you uncheck this box, the server will be hidden after it is created;
- Description — additional information for your server, if necessary;
- Credentials — credentials for SSH access you’ve created in step 4;
- Group — the group your server will be added to. Select the group you’ve created in step 2;

Click Add and the server will be added to the Servers tab and to the group you’ve selected.
To check if the connection with the new server has been successfully established, click Check. If everything is OK, RMON will display the "Connect accepted" message.