 RMON
RMON
- How to set up your Time zone
- How to create a Telegram bot and use it with RMON
- How to create a Slack APP and use it with RMON
- How to create PagerDuty Integration key and use it with RMON
- Notifications and alerting
- Status pages
- Security checklist
- Company sign-in with OIDC
- Get started with the RMON API
- Backup and recovery
- How to use groups and roles
- How to change user settings
Servers
How to use groups and roles
Groups and access
A group separates the checks, hosts, credentials, channels and settings used by a team. A user can belong to several groups with a different role in each. Groups are independent; creating a group does not create a nested group hierarchy.
Open your username at the top right, choose Current group and save before working on that team's resources. A check group on the Dashboard is a display category and does not grant access.
Roles
| Role | Use |
|---|---|
| superAdmin | Manage the installation, groups and user access across groups. |
| admin | Administer resources and settings in the assigned group. |
| editor | Create and edit monitoring checks in the assigned group. |
| guest | View monitoring information available to the assigned group. |
A guest is a signed-in user. Public status pages provide a separate way to share selected results without an RMON account.
Manage membership
For company accounts, use the OIDC guide to map external groups to RMON roles and verify how membership changes take effect.
- As a super administrator, create the team under Admin area → Groups.
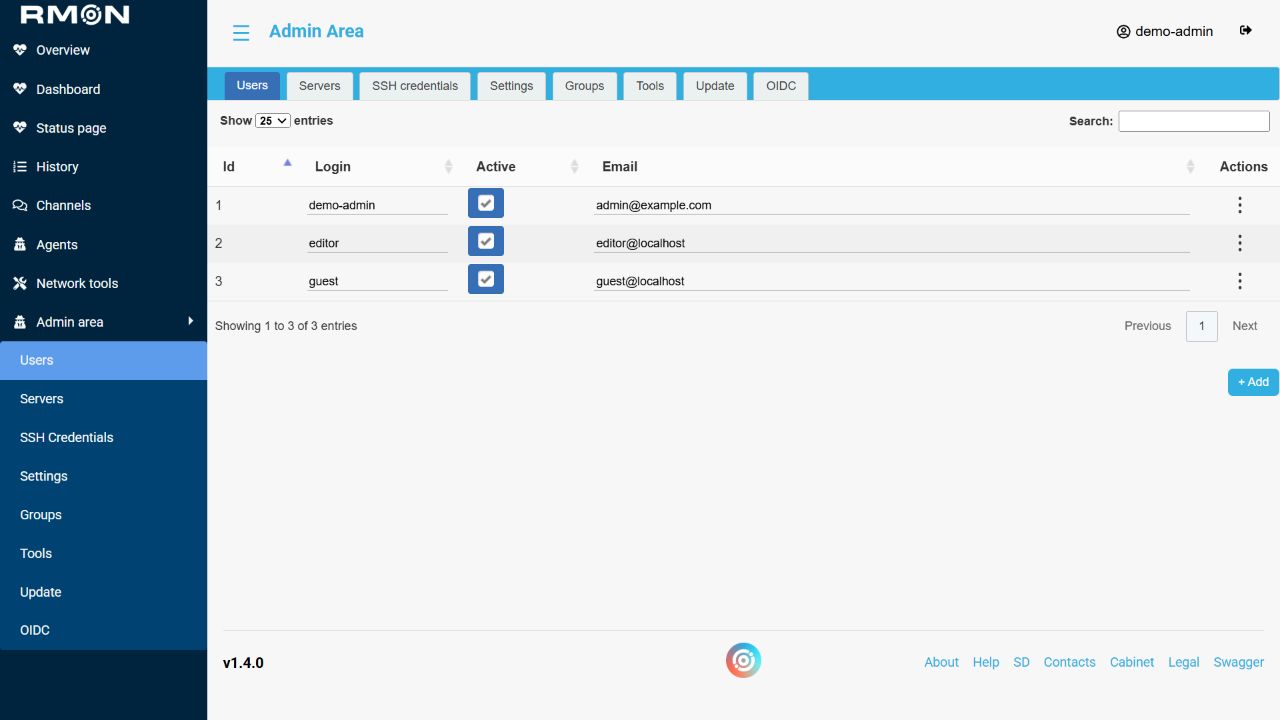
- Open Users, add or select a user and use the row's actions to manage their group membership and role.
- Assign the access needed for that person's work and check it while signed in as that user.
Shared makes supported resources available beyond their owning group. Review it deliberately when configuring agents, locations or SSH credentials. An agent's connection settings come from its owning group, including when the agent is shared.