- 1. Add and configure a server on the Admin area ➝
Servers tab.
To allow multiple IP addresses to process the check results, go to the
Admin area ➝ Settings tab and fill in the “master_ip” field.
Enter the list of IPs, separated by commas. The check will be processed by the first available IP address.
- 2. Go to the Agents tab and click Add Agent.
- 3. Fill out the fields:
- Select your server from the drop-down list.
- Name your agent.
- Check the “Enable” box if you want to run the check right after creating the agent.
- Check the “Shared” box if you want the agent to be visible to all groups.
- Add a description.
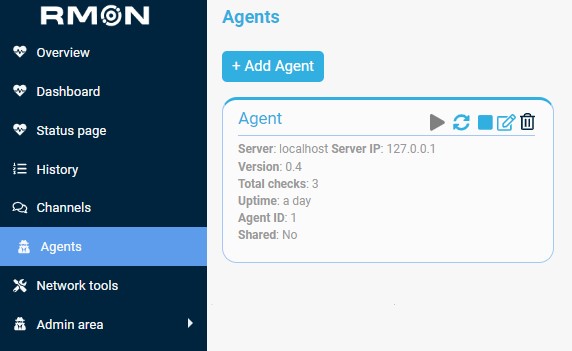
4. Click Add. The agent will appear on the Agents page.
By clicking on the agent's name, you can view its details: assigned checks and resource usage.
There are five buttons to the right of the agent’s name:⏵— run the agent, ⟳ — restart the agent, ■ — stop the agent, 🖉 — edit
the agent, 🗑 — delete the agent.
Was this article helpful?